Custom Workbench
Molecule's default Workbench UI is a clone of VSCode. However, it often can't meet our needs in actual development scenarios.
In addition to some built-in atomic Components, Molecule also provides basic Workbench, SideBar, Editor, ActivityBar, MenuBar, Panel, StatusBar and other core UI components, so that developers can reassemble their own Workbench according to their needs.
tip
All code demos in this part are based on the molecule-demo project in Quick Start.
Custom Workbench Example
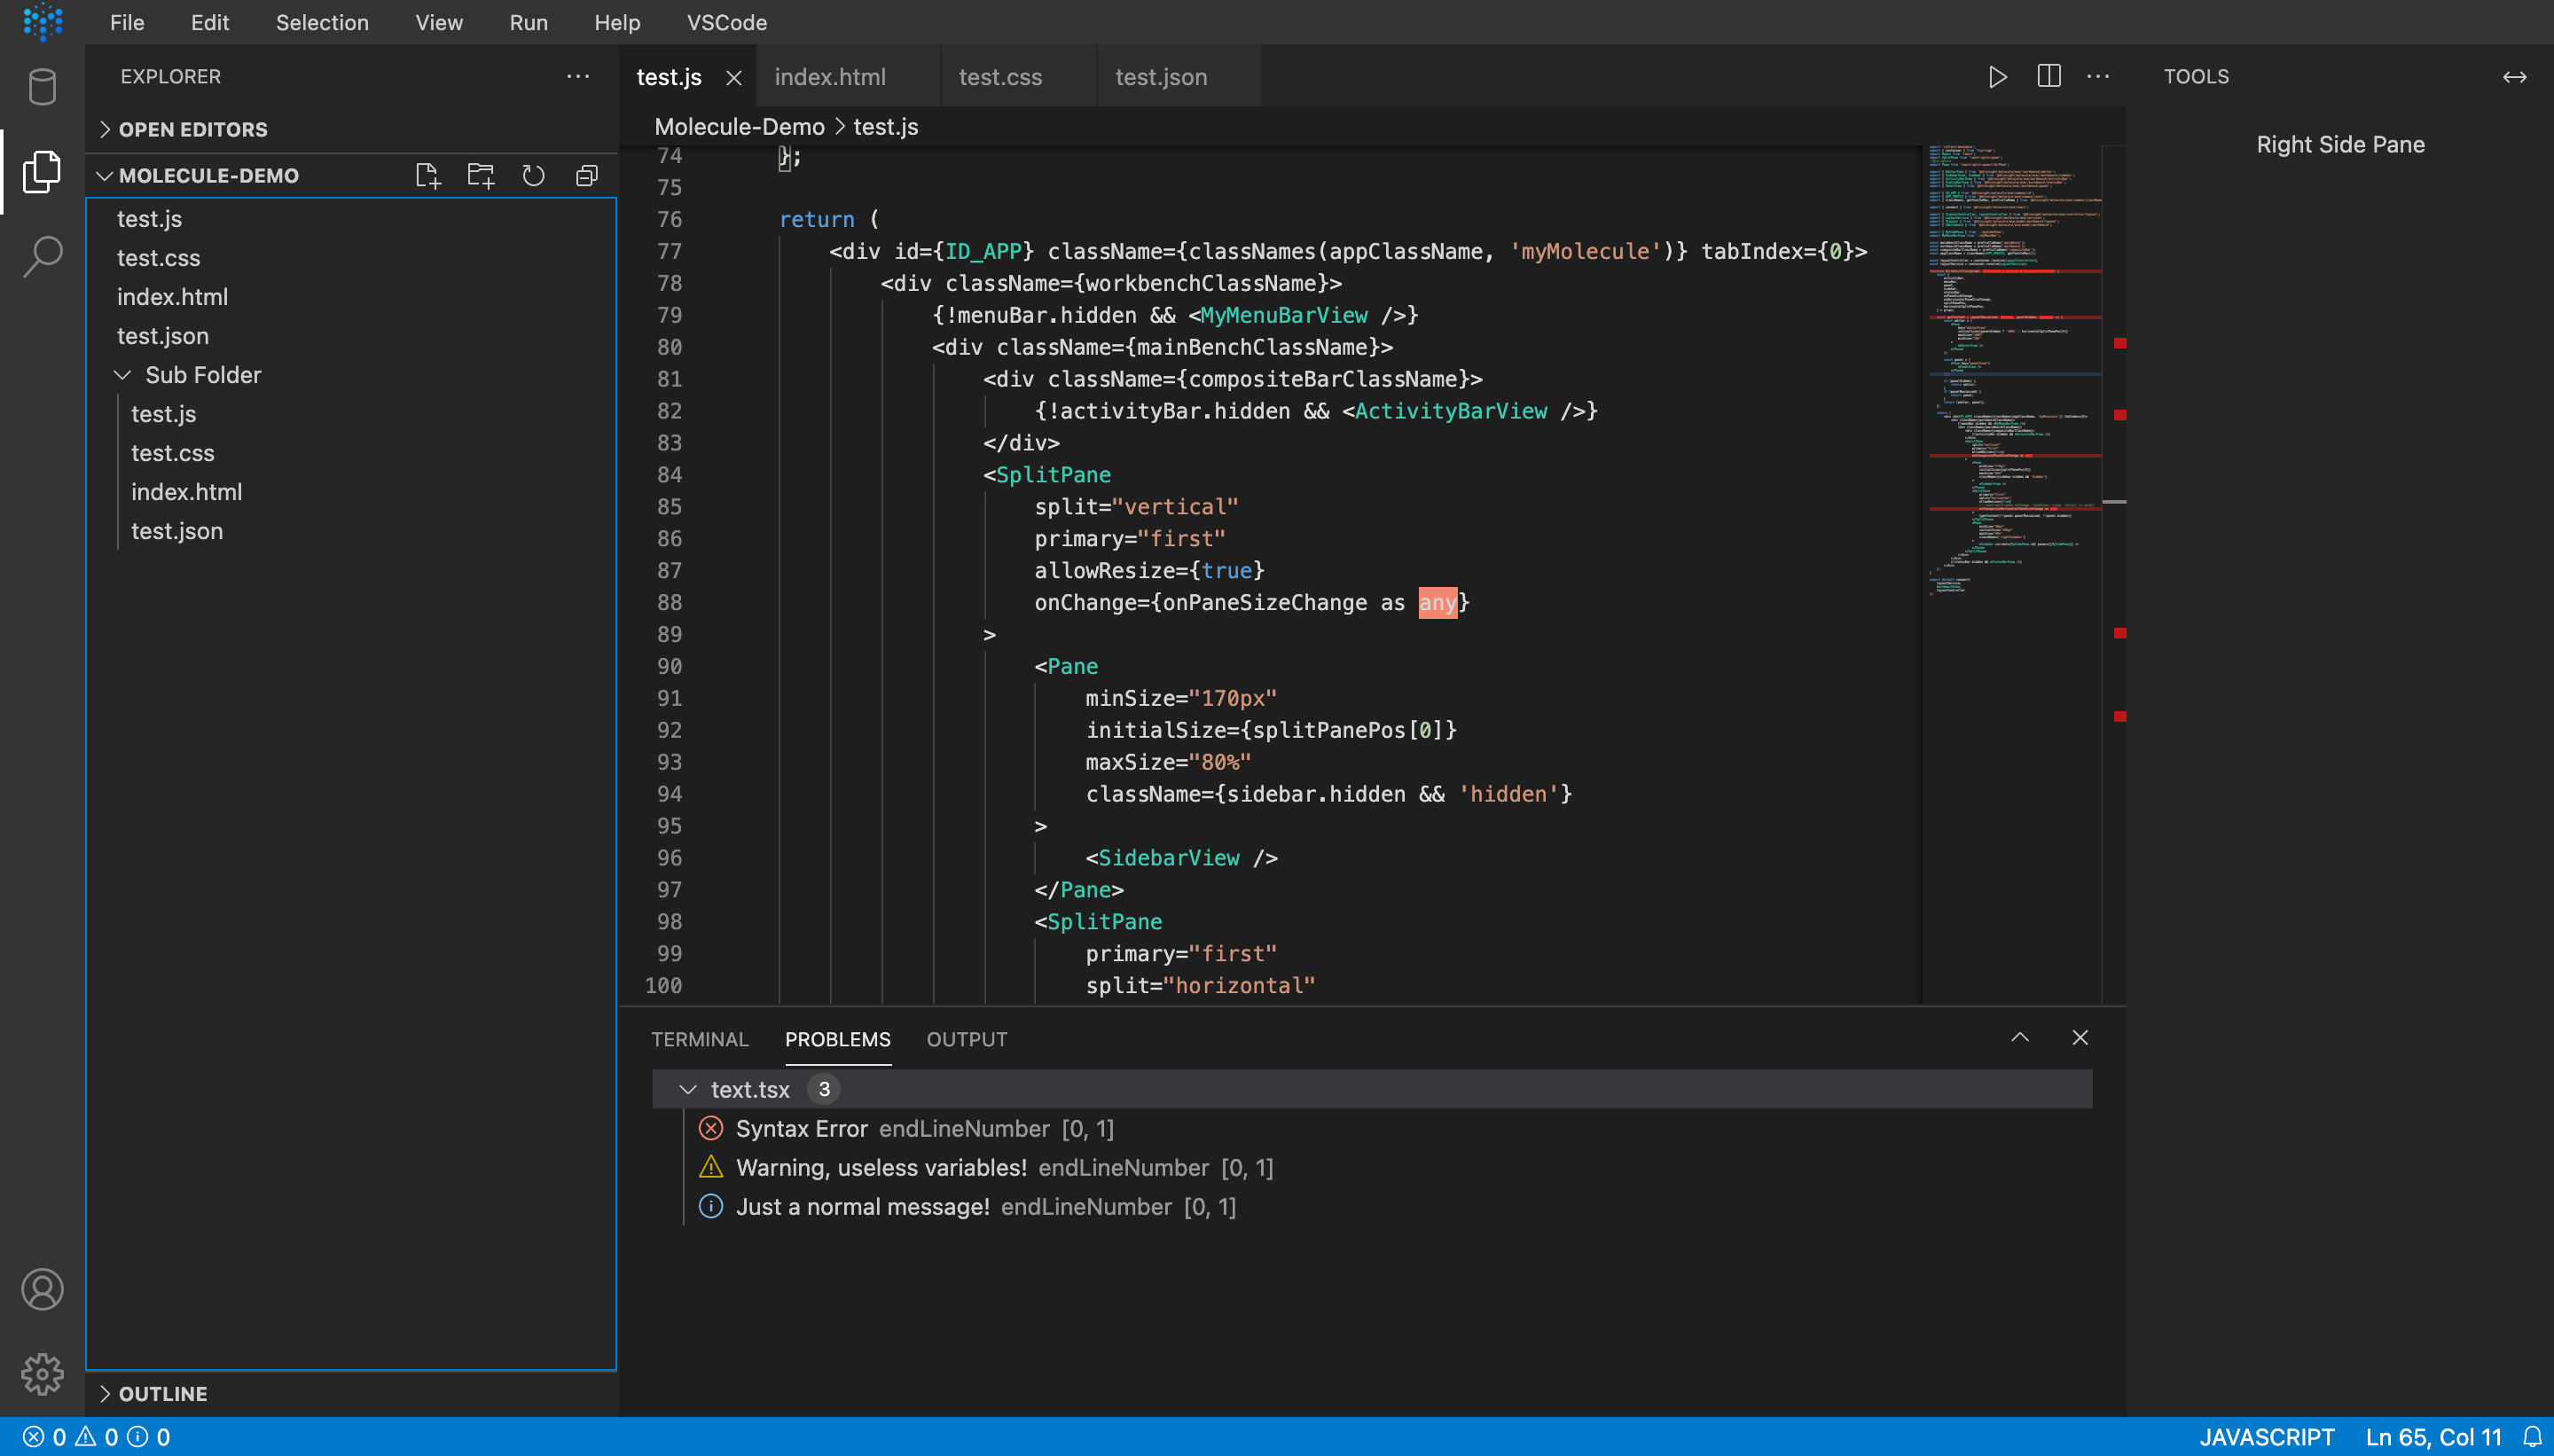
Molecule's Workbench has a VSCode layout by default. In the example above, we placed the MenuBar horizontally at the top position, and on the right side of the editor, we have customized a RightSideBar.
info
At present, the top fixed layout for the MenuBar is integrated in Molecule. Besides, we will also integrate the right sidebar (RightSideBar) for Molecule in the future.
Restructuring Workbench
First, open the source code of Molecule, and find the src/workbench directory, then copy the workbench.tsx file to the views or other directories of your project, and rename it to myWorkbench.tsx:
<div className={workbenchFinalClassName}>
    <Display visible={isMenuBarHorizontal}>
        <MenuBarView mode={MenuBarMode.horizontal} />
    </Display>
    <div className={mainBenchClassName}>
        <div className={compositeBarClassName}>
            <Display visible={isMenuBarVertical}>
                <MenuBarView mode={MenuBarMode.vertical} />
            </Display>
            <Display
                visible={!activityBar.hidden}
                className={displayActivityBarClassName}
            >
                <ActivityBarView />
            </Display>
        </div>
        <SplitPane
            split="vertical"
            primary="first"
            allowResize={true}
            onChange={onPaneSizeChange as any}
        >
            <Pane
                minSize="170px"
                initialSize={splitPanePos[0]}
                maxSize="80%"
                className={sidebar.hidden ? 'hidden' : ''}
            >
                <SidebarView />
            </Pane>
            <SplitPane
                primary="first"
                split="horizontal"
                allowResize={true}
                // react-split-pane onChange: (newSizes: [size, ratio]) => void;
                onChange={onHorizontalPaneSizeChange as any}
            >
                {getContent(!!panel.panelMaximized, !!panel.hidden)}
            </SplitPane>
        </SplitPane>
    </div>
</div>
In the code, the MenuBarView in horizontal mode and vertical mode are placed in different positions. The SplitPane component includes SidebarView by default, as well as the Editor and Panel on the right, but does not include the RightSideBar.
The specific transformation is as follows:
<div className={workbenchClassName}>
    {!menuBar.hidden && <MyMenuBarView />}
    <div className={mainBenchClassName}>
        <div className={compositeBarClassName}>
            {!activityBar.hidden && <ActivityBarView />}
        </div>
        <SplitPane
            split="vertical"
            primary="first"
            allowResize={true}
            onChange={onPaneSizeChange as any}
        >
            <Pane
                minSize="170px"
                initialSize={splitPanePos[0]}
                maxSize="80%"
                className={sidebar.hidden && 'hidden'}
            >
                <SidebarView />
            </Pane>
            <SplitPane
                primary="first"
                split="horizontal"
                allowResize={true}
                // react-split-pane onChange: (newSizes: [size, ratio]) => void;
                onChange={onHorizontalPaneSizeChange as any}
            >
                {getContent(!!panel.panelMaximized, !!panel.hidden)}
            </SplitPane>
            <Pane
                minSize="40px"
                initialSize="240px"
                maxSize="40%"
                className={'rightSidebar'}
            >
                <Sidebar current={MySidePane.id} panes={[MySidePane]} />
            </Pane>
        </SplitPane>
    </div>
</div>
caution
The above code is only part of the myWorkbench.tsx file, the complete code can refer to molecule-demo.
We removed the MenuBar in the vertical mode, and directly rendered the custom MyMenuBarView component based on the menuBar.hidden. A new panel with a className of rightSidebar is added to the SplitPane component, which uses a built-in Sidebar component, and a custom MySidePane component is used in this Sidebar component.
Custom MenuBar
In the picture above, the MenuBar contains a custom Logo element, and the MenuBar uses a Horizontal layout. Like Workbench, we copy the default menuBar.tsx component from src/workbench/menuBar and rename it to myMenuBar.tsx:
<div className="myMenuBar">
    <Logo alt="logo" src="logo@1x.png" />
    <Menu
        role="menu"
        mode={MenuMode.Horizontal}
        trigger="click"
        onClick={handleClick}
        style={{ width: '100%' }}
        data={addKeybindingForData(data)}
    />
</div>
The Logo component is added to the code, and the original DropDown is replaced with Menu Components.
tip
The custom Logo and Horizontal layout functions of the above MenuBar are currently built-in. For details, please refer to MenuBar
Custom RightSideBar
Slightly different from MenuBar, because the built-in Sidebar component is reused, here we only need to pass in ISidebarPane type components:
import React from 'react';
import molecule from '@dtinsight/molecule';
import { Header, Content } from '@dtinsight/molecule/esm/workbench/sidebar';
import { IActionBarItemProps } from '@dtinsight/molecule/esm/components';
import { localize } from '@dtinsight/molecule/esm/i18n/localize';
import { ISidebarPane } from '@dtinsight/molecule/esm/model';

const Toolbar = molecule.component.Toolbar;

export function MySidePaneView() {
    const renderHeaderToolbar = React.useCallback((): IActionBarItemProps[] => {
        return [
            {
                icon: 'editor-layout',
                id: 'tools',
                title: 'Layout the right SidePane',
            },
        ];
    }, []);

    return (
        <div className={'mySidePane'}>
            <Header
                title={localize('demo.rightSidebar.title', 'Tools')}
                toolbar={<Toolbar data={renderHeaderToolbar()} />}
            />
            <Content>
                <p style={{ textAlign: 'center' }}>Right Side Pane</p>
            </Content>
        </div>
    );
}

export const MySidePane: ISidebarPane = {
    id: 'mySidePane',
    title: 'Tools',
    render: () => {
        return <MySidePaneView />;
    },
};
After completing these operations, you can see the layout shown above in the interface. For complete example, please refer to molecule-demo
Summary
In the above example, a lot of Molecule's built-in UI components are used to implement customization. However, using built-in components has a certain start-up cost and requires developers to have a better understanding of the built-in UI components. We will continue to optimize the documentation and API in subsequent versions to reduce the cost of getting started and provide as many examples as possible.